
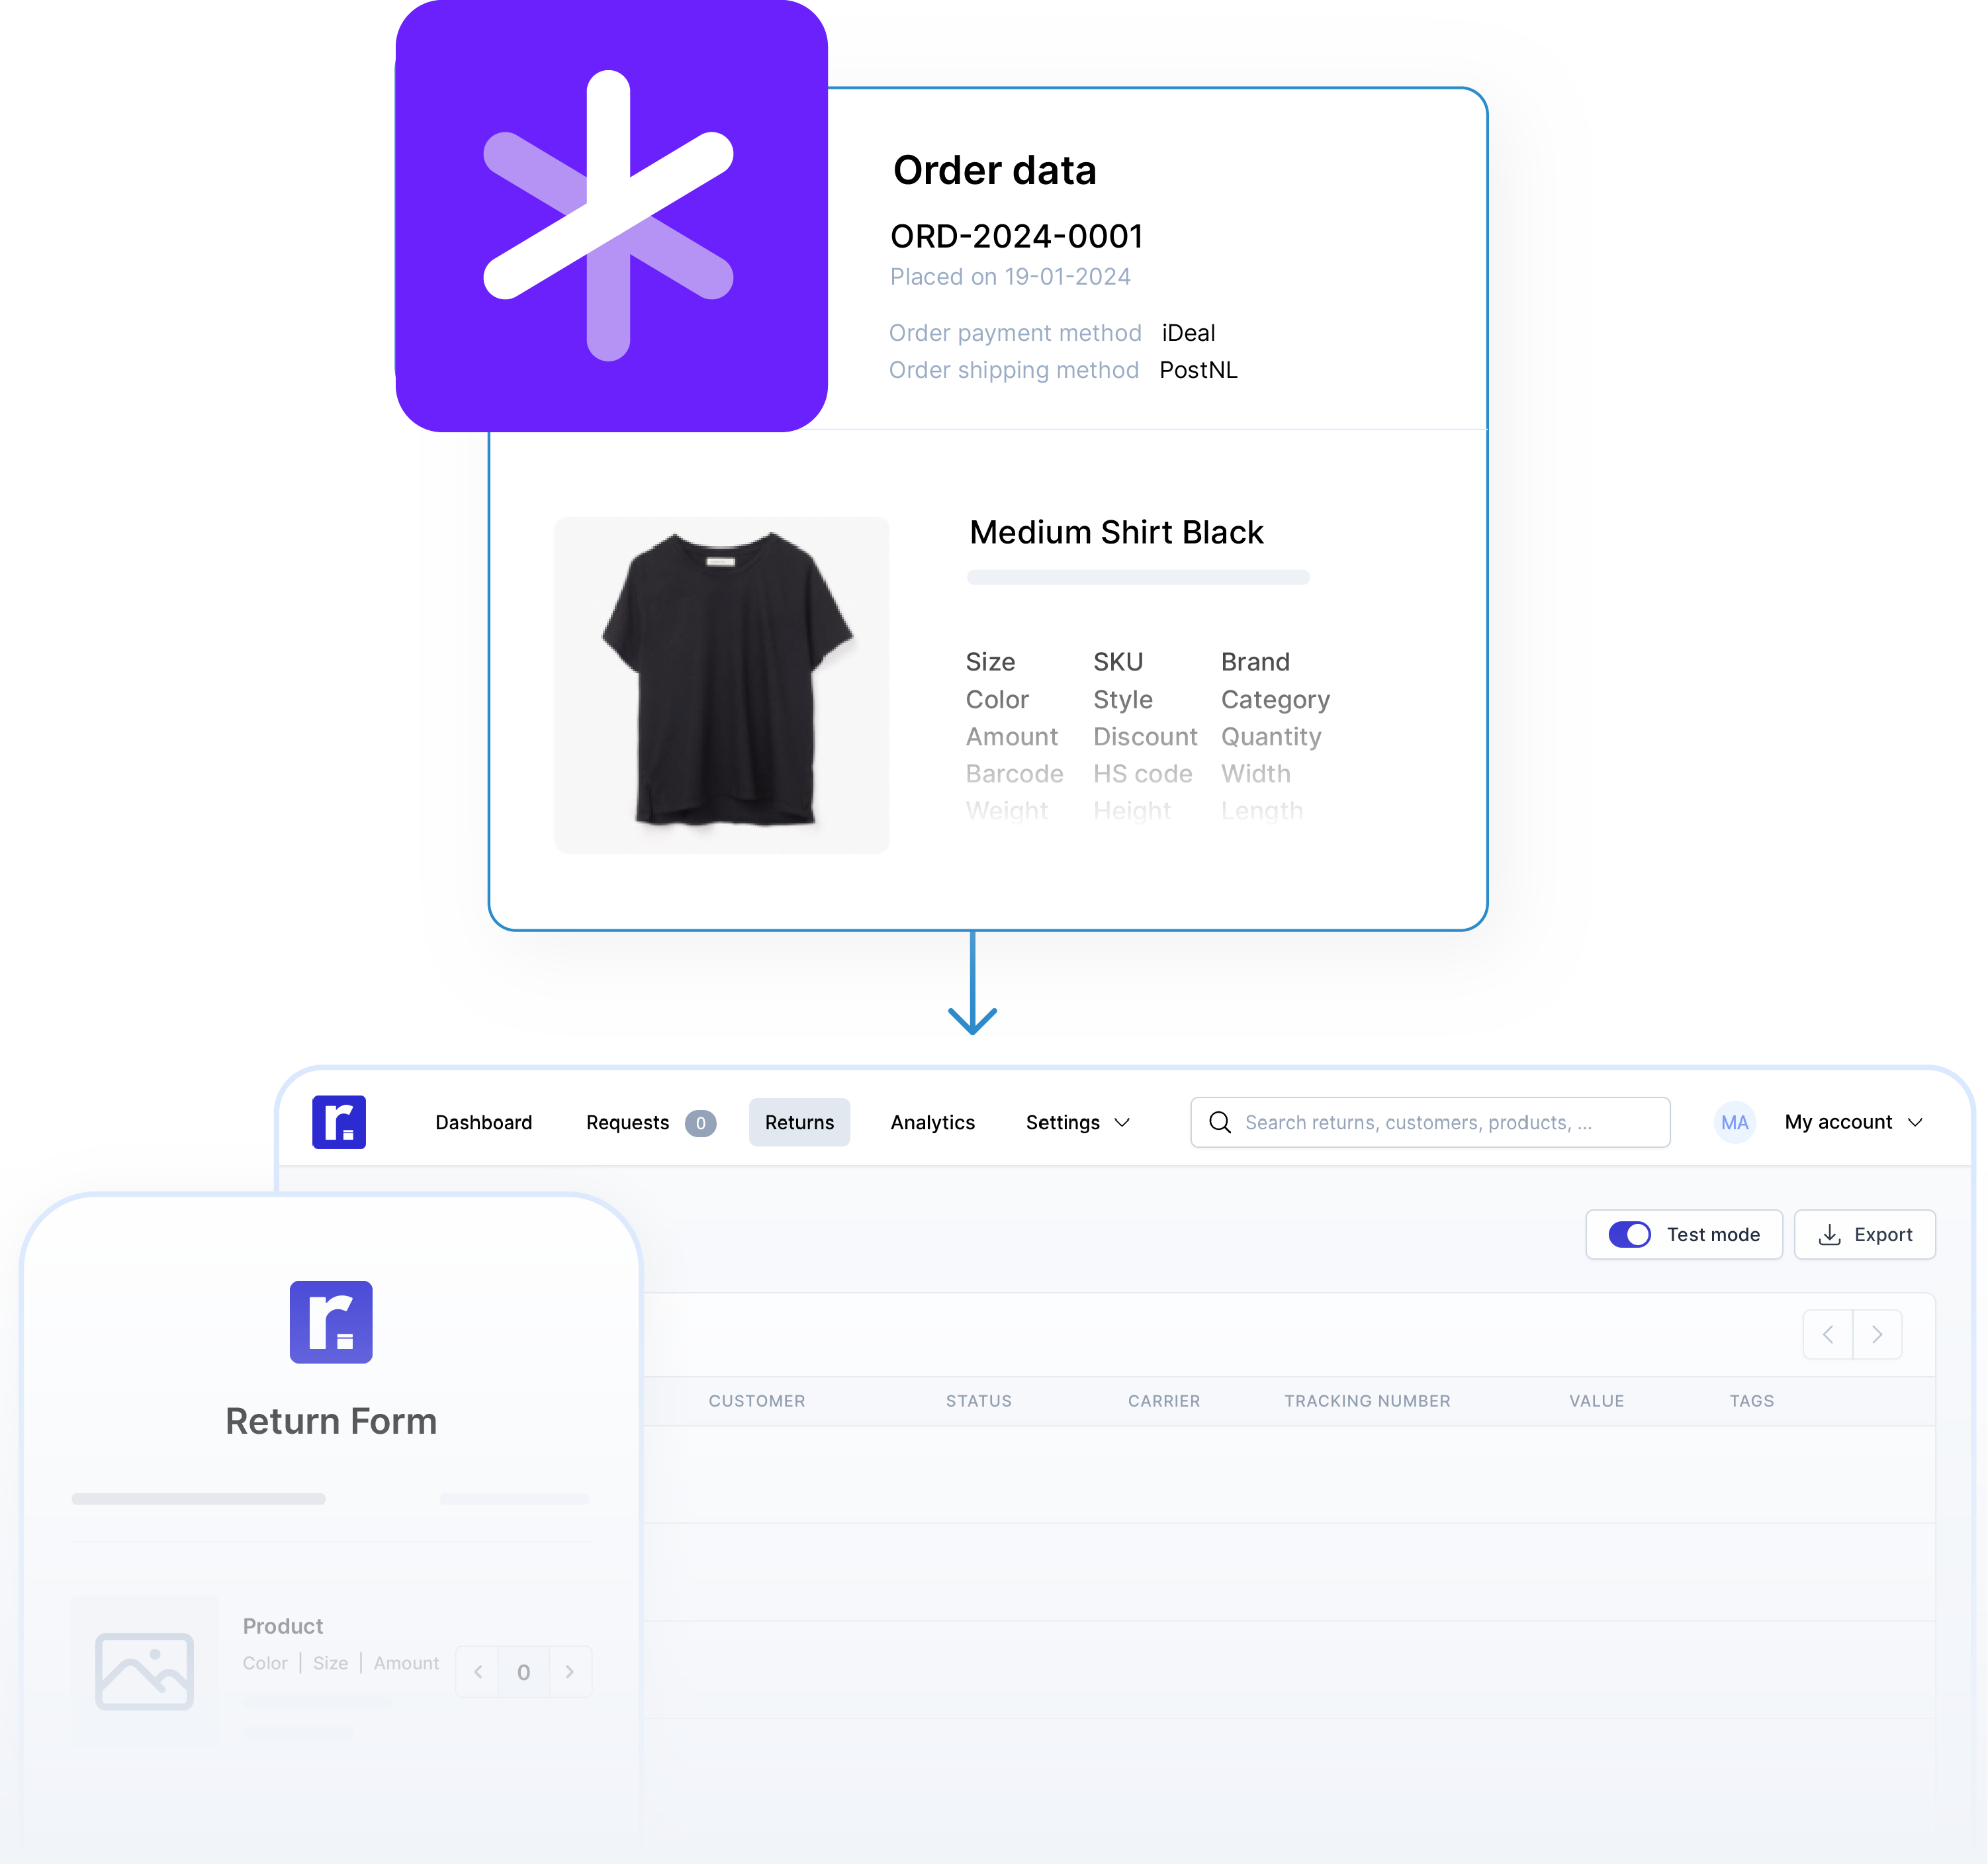
Built by Returnless
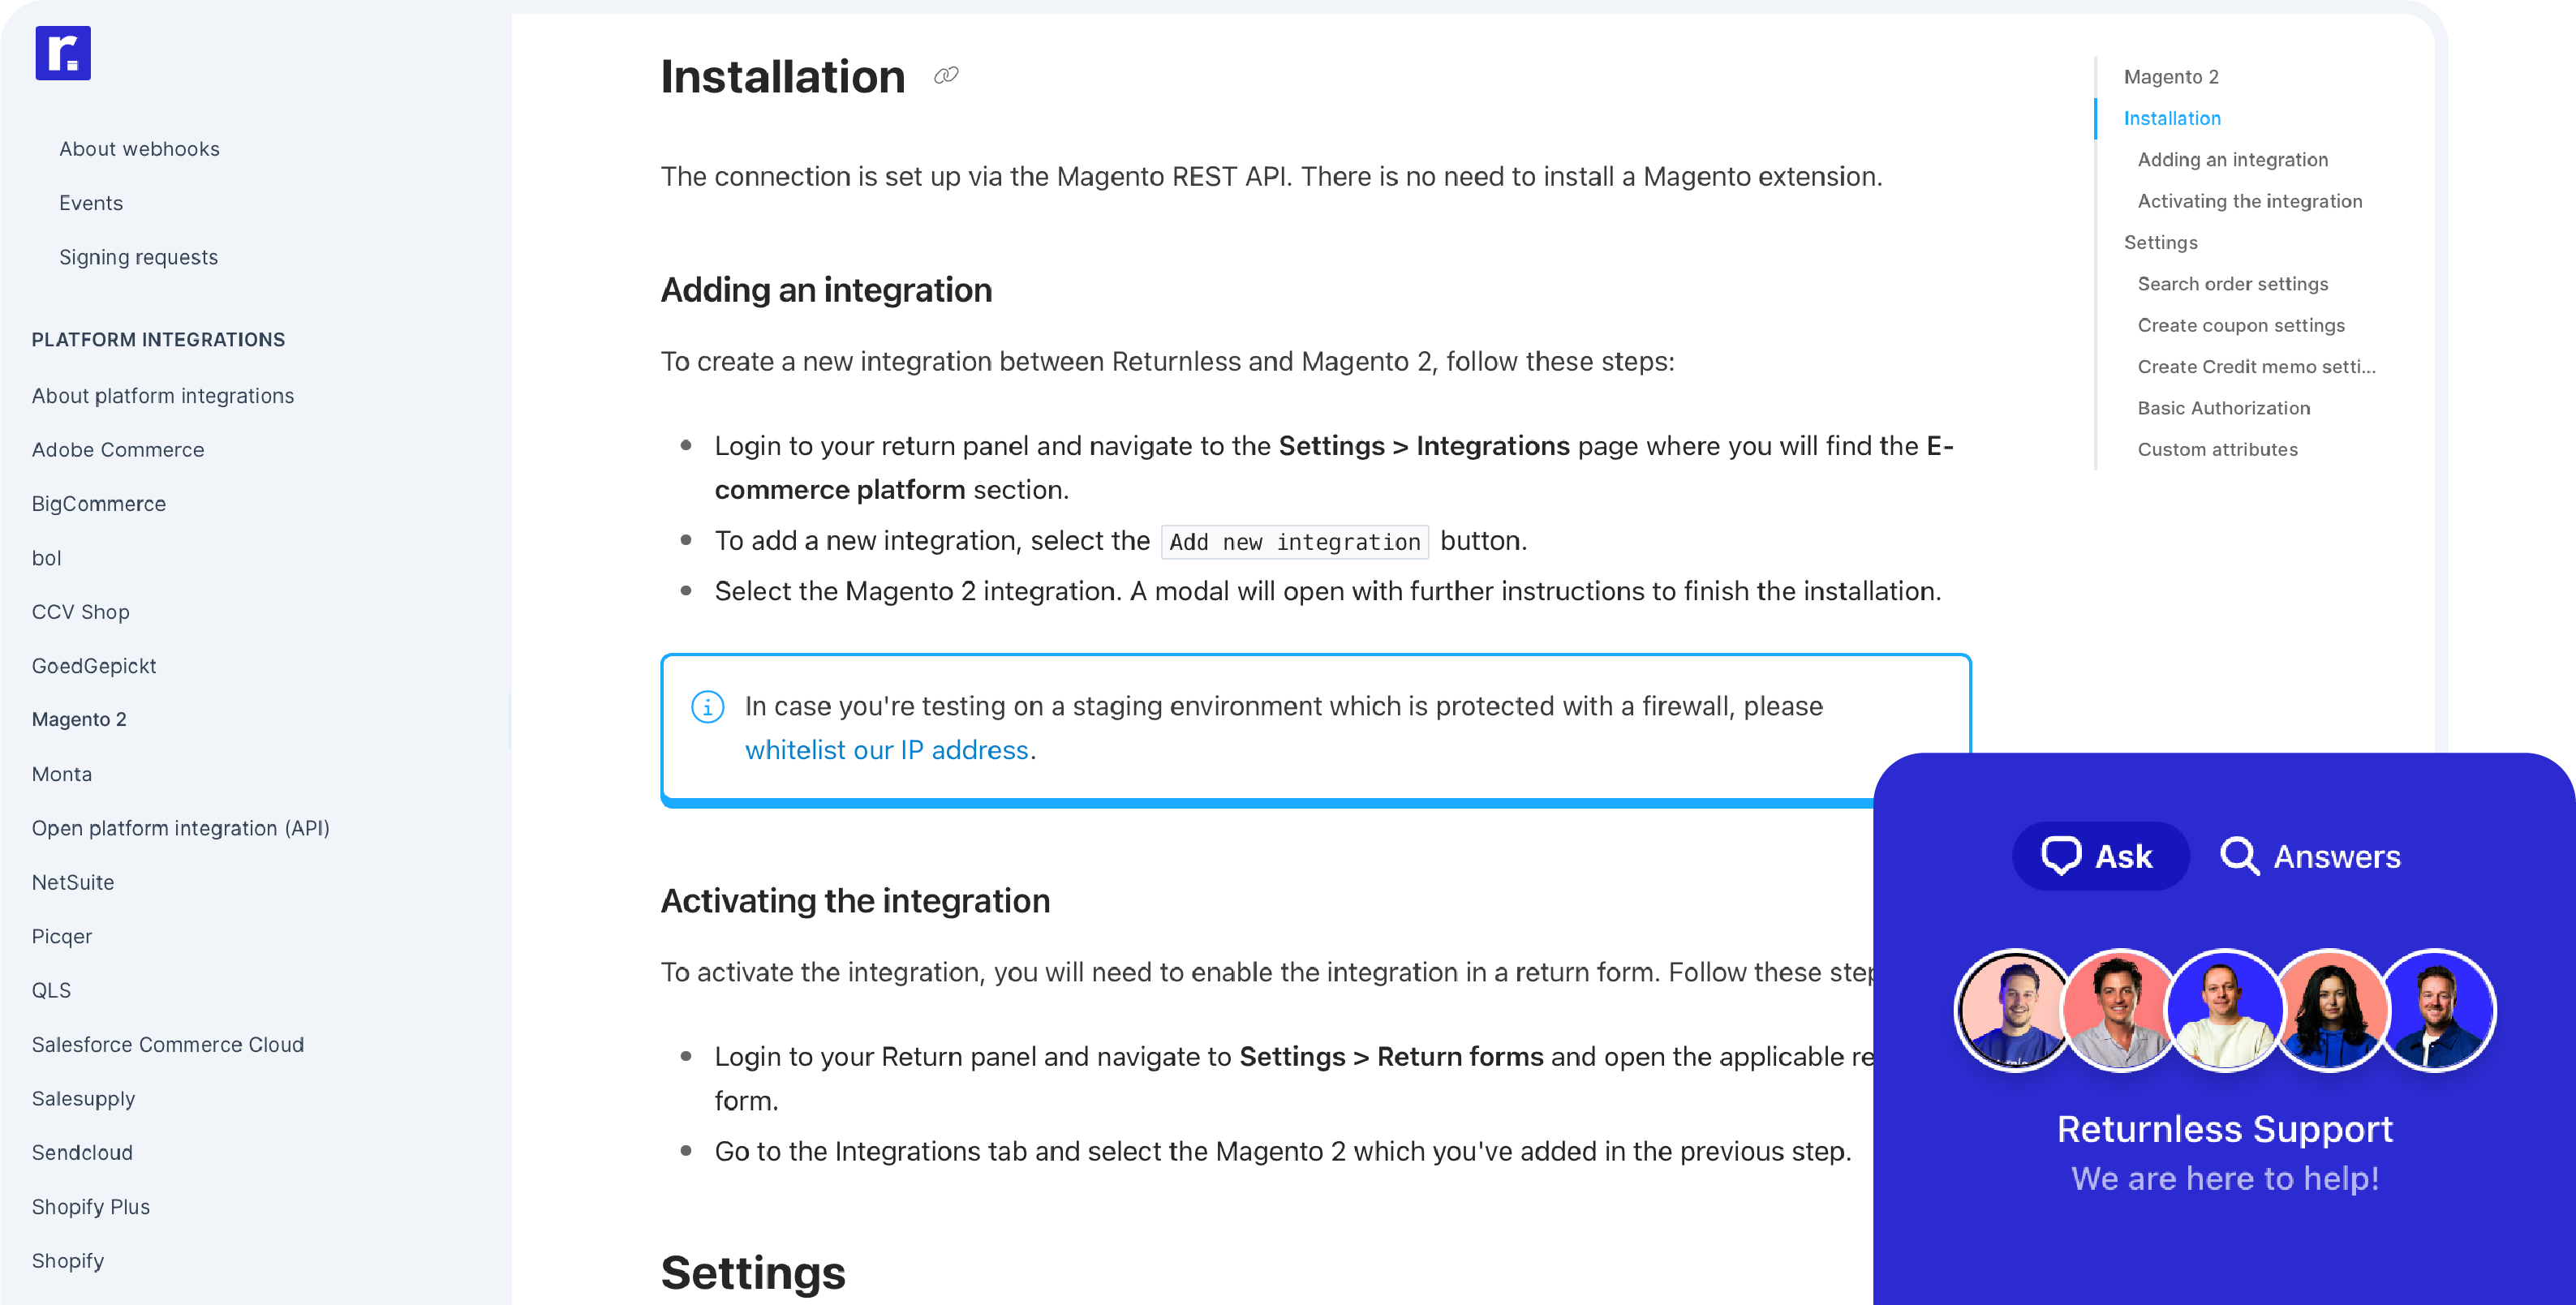
Connect your store in 5 minutes with our plug & play integration. Review installation guide.
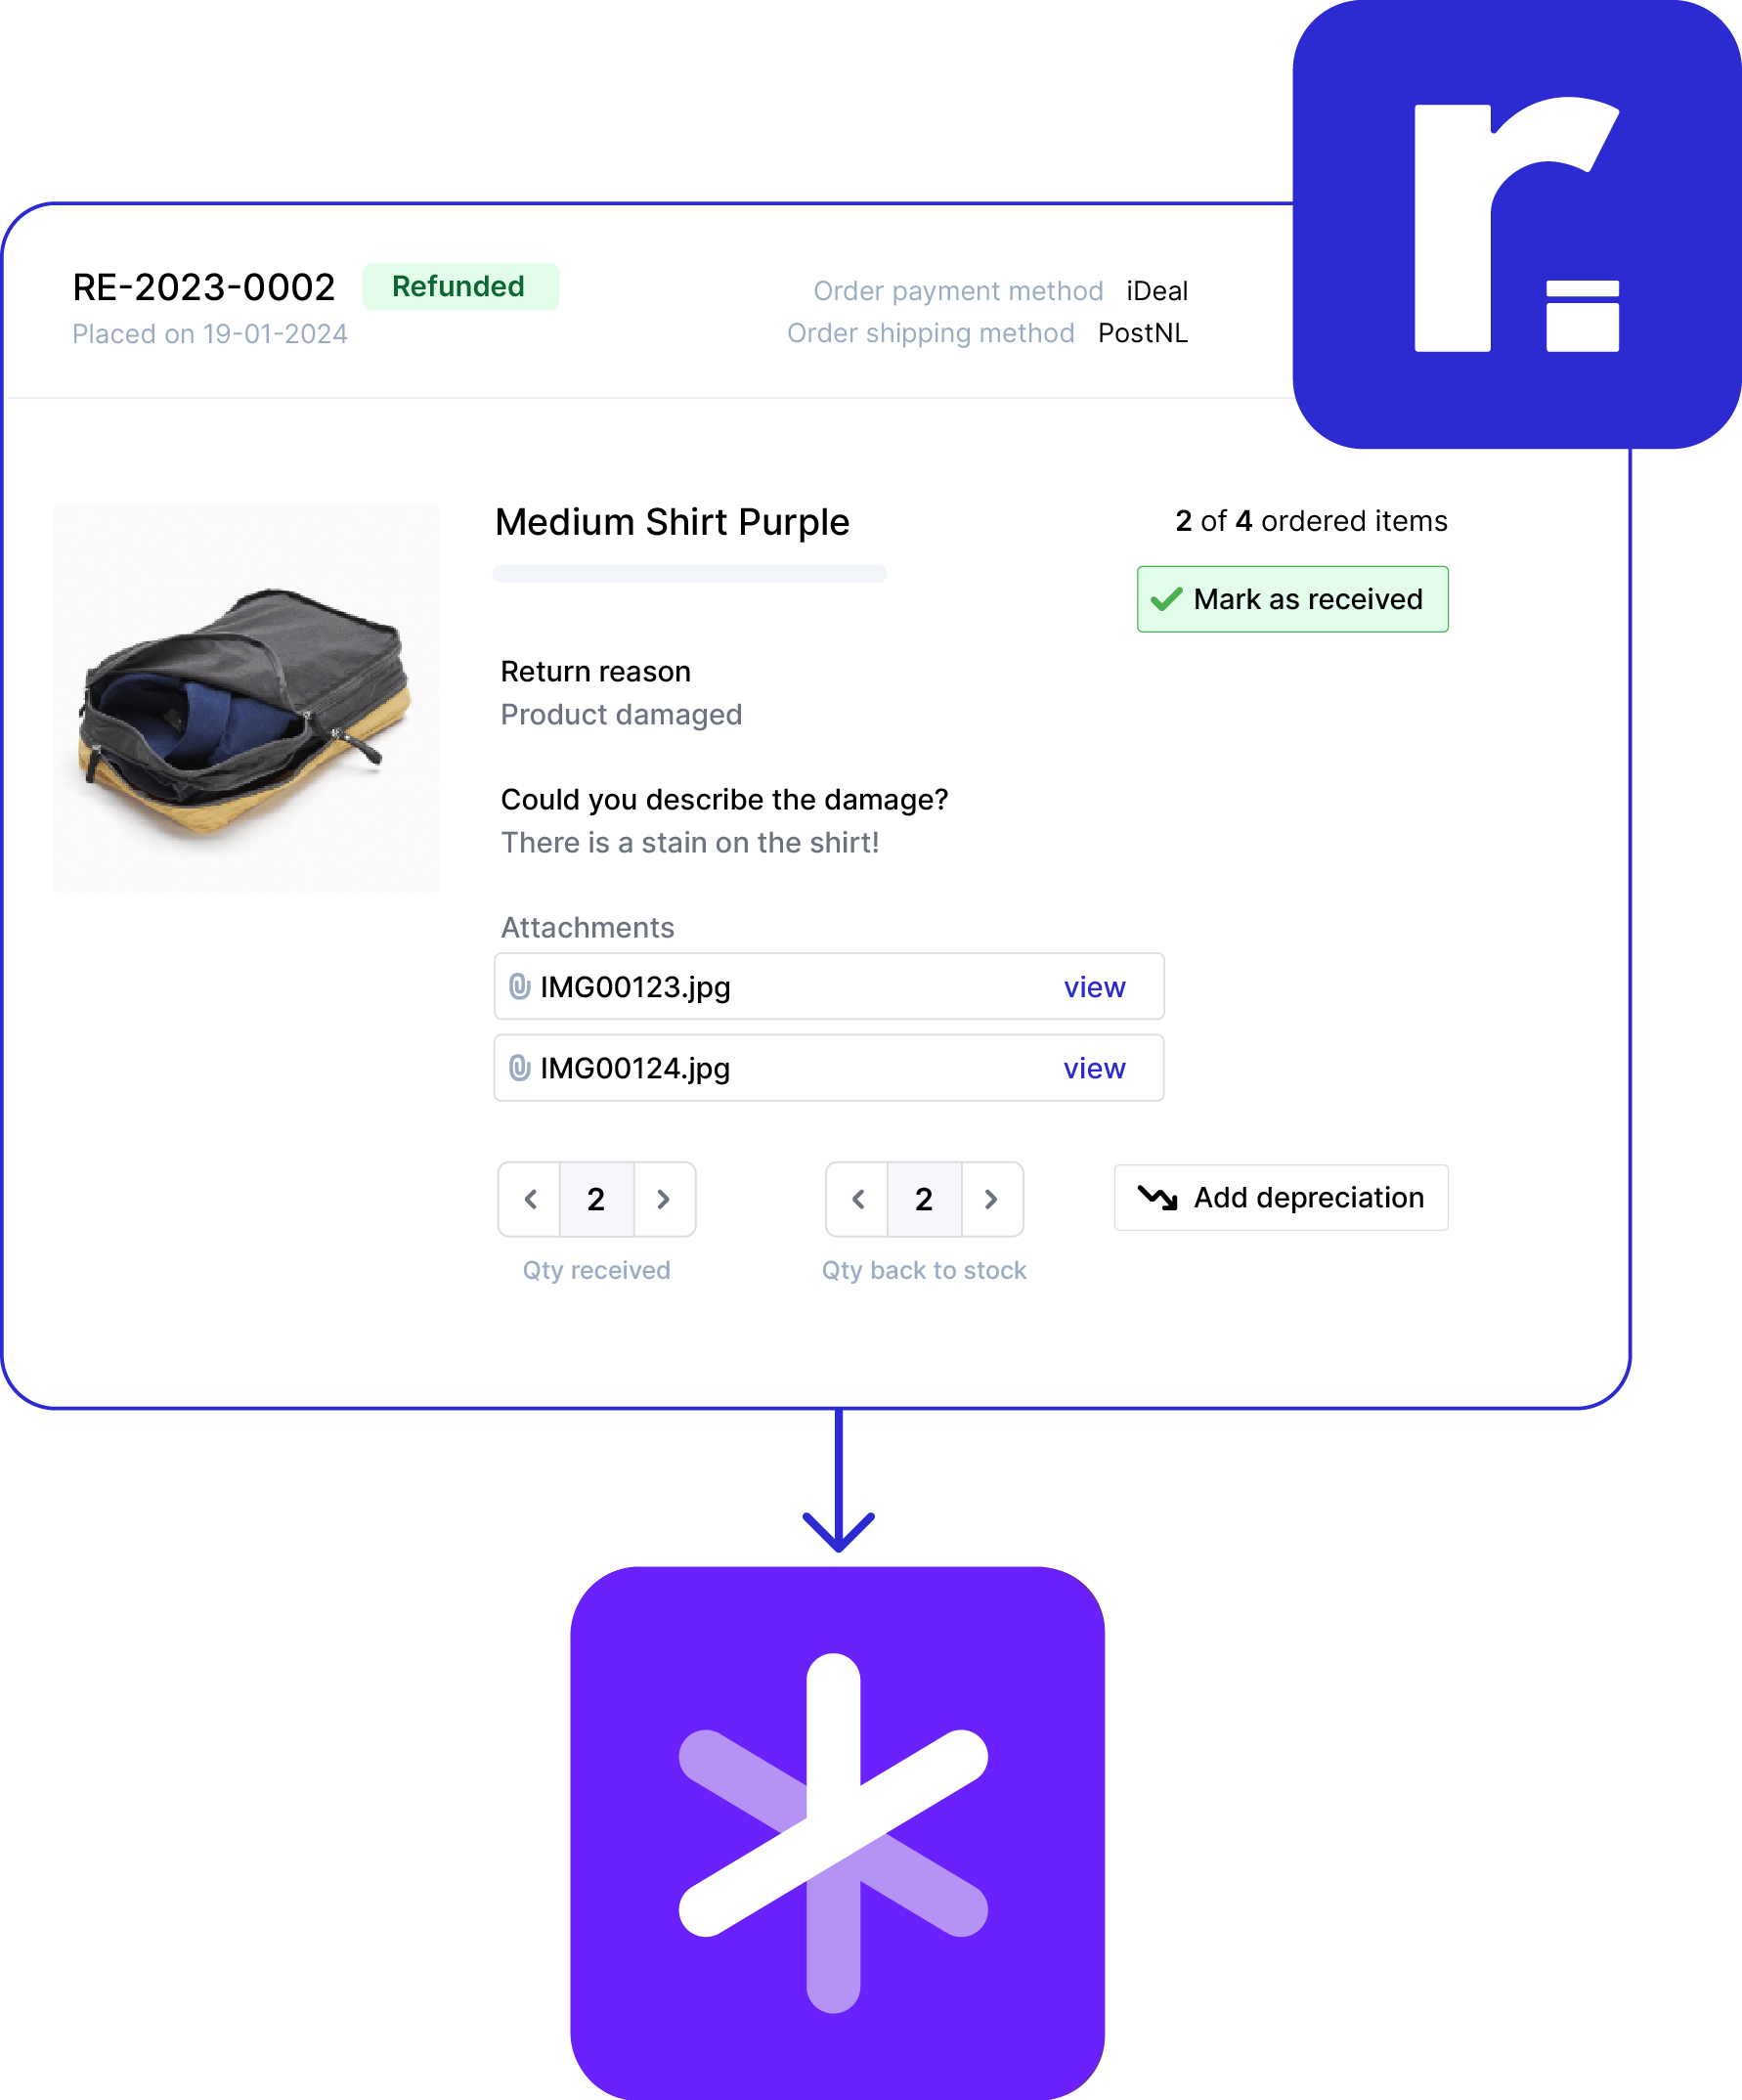


Built by Returnless
Connect your store in 5 minutes with our plug & play integration. Review installation guide.