Built by Engaige
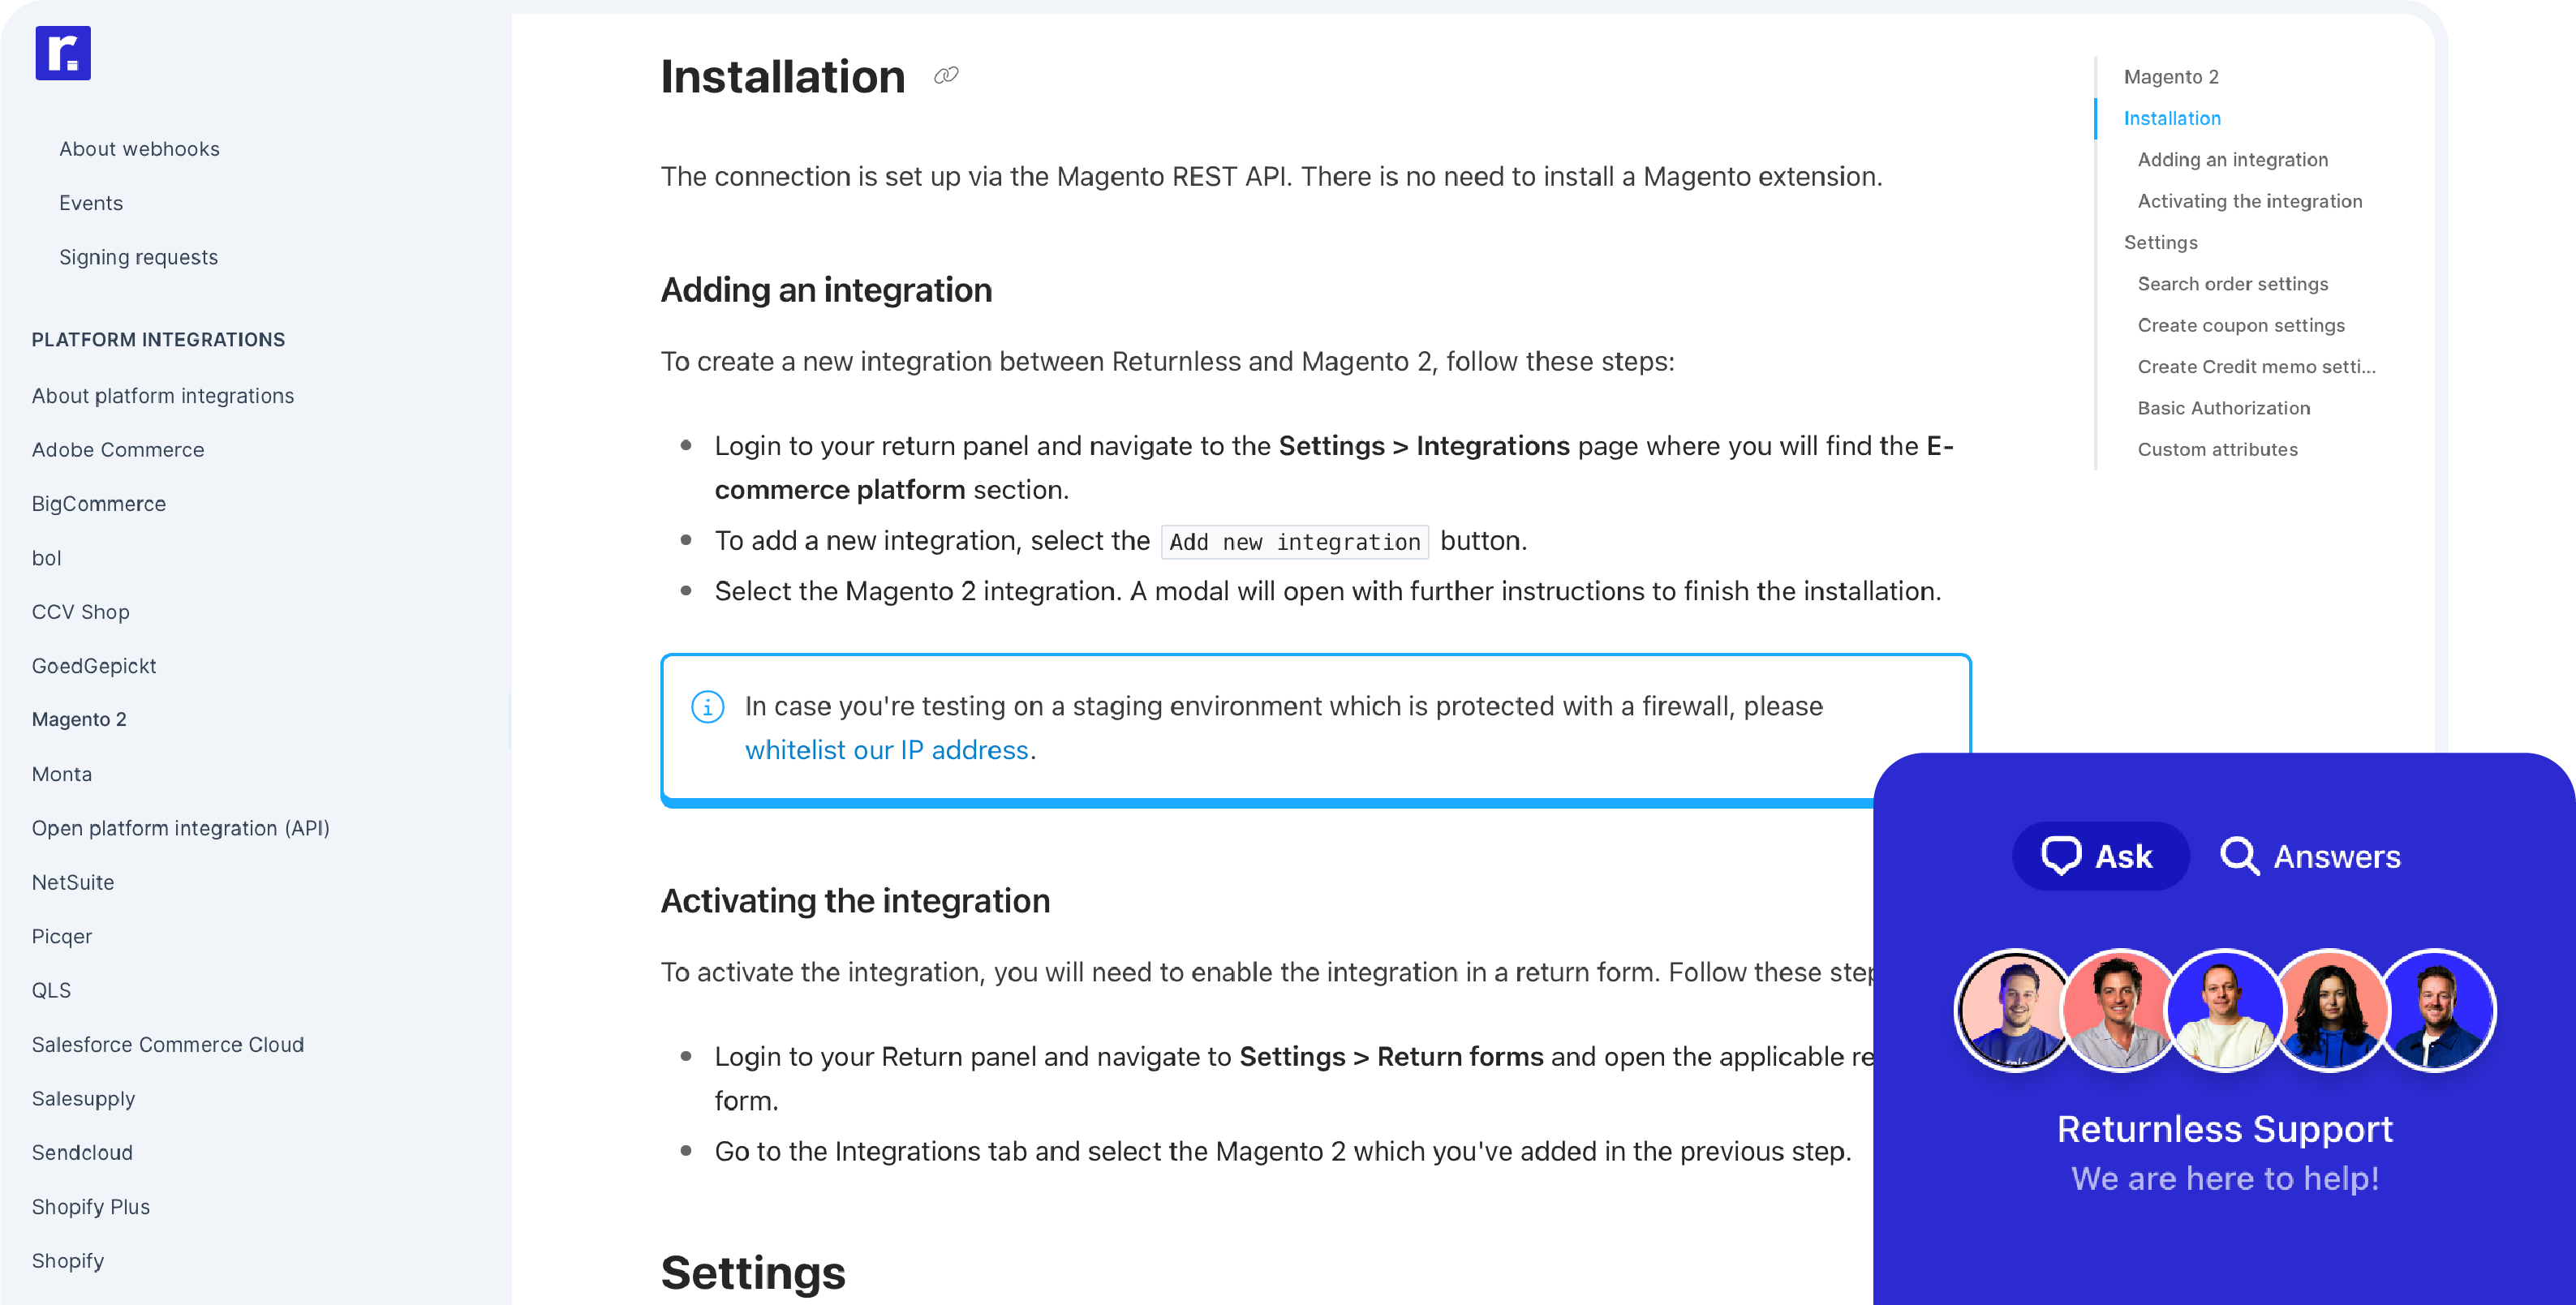
Easily connect Engaige with Returnless. Review the installation guide.
Engaige returns.
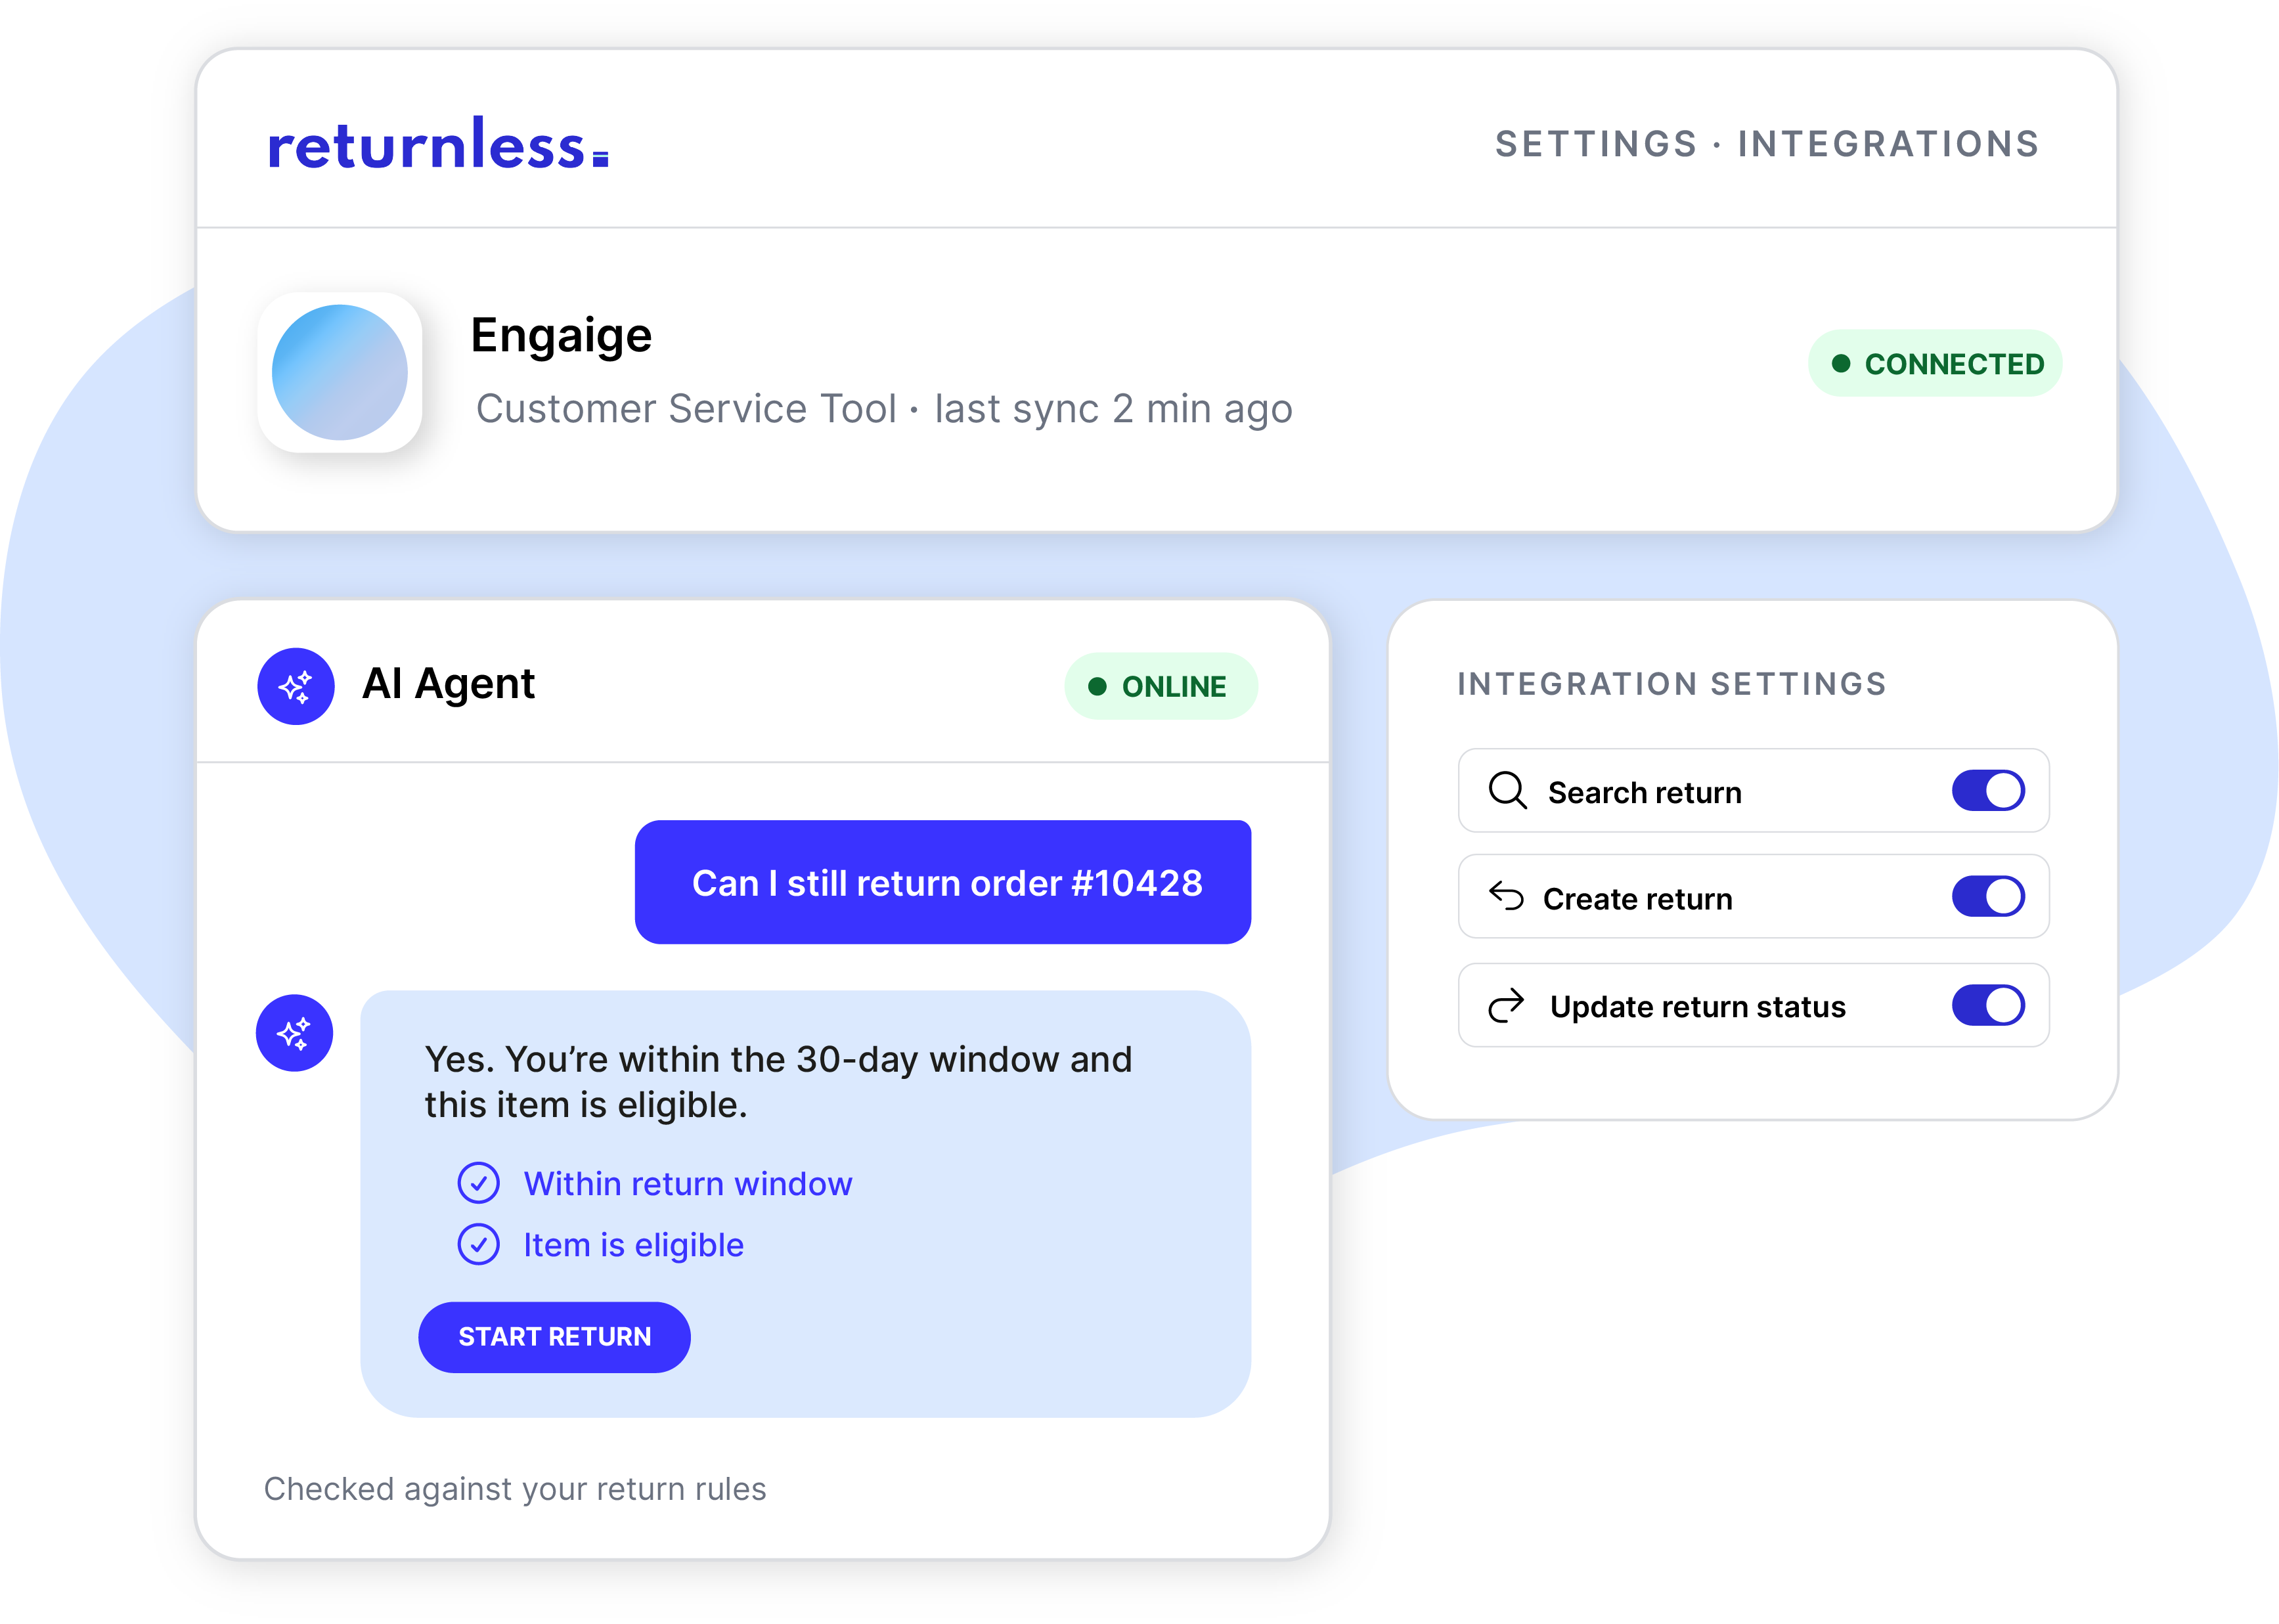
Engaige's AI agent resolves customer questions on its own. Connect it to Returnless and it can do the same for returns, answering with live status and tracking, and stepping in to start, relabel, or update the return itself where you allow it.
✅ Looks up return status, tracking, items, and refund details instantly
✅ Checks your return policy before answering the customer
✅ Can create, label, approve, reject, or update a return for you
✅ Every conversation is synced between systems
how does the integration work?
Question from customer
A customer asks Engaige's agent about a return during a conversation.
Agent verifies the order
The agent asks for the order number, plus the email address or postal code used on the order.
Agent checks what's allowed
It verifies the order and checks your Returnless setup before answering the customer.
Agent answers or acts
It answers with the live details, or takes the action you've enabled: creating, labeling, or updating a return.
Everything stays visible
Every lookup and action appears in the conversation view, and notes sync back to the return.
fewer questions for customer service.
One verified lookup, checked against your own policy.
"Where's my return" and "where's my refund" are some of the most common tickets in a support queue. Once the agent verifies the order number with the email address or postal code, it pulls the return status and tracking information straight from Returnless. It also checks the return policy before it answers the customer or approves a return.
resolves the request, not just the question.
No need for manual follow-ups.
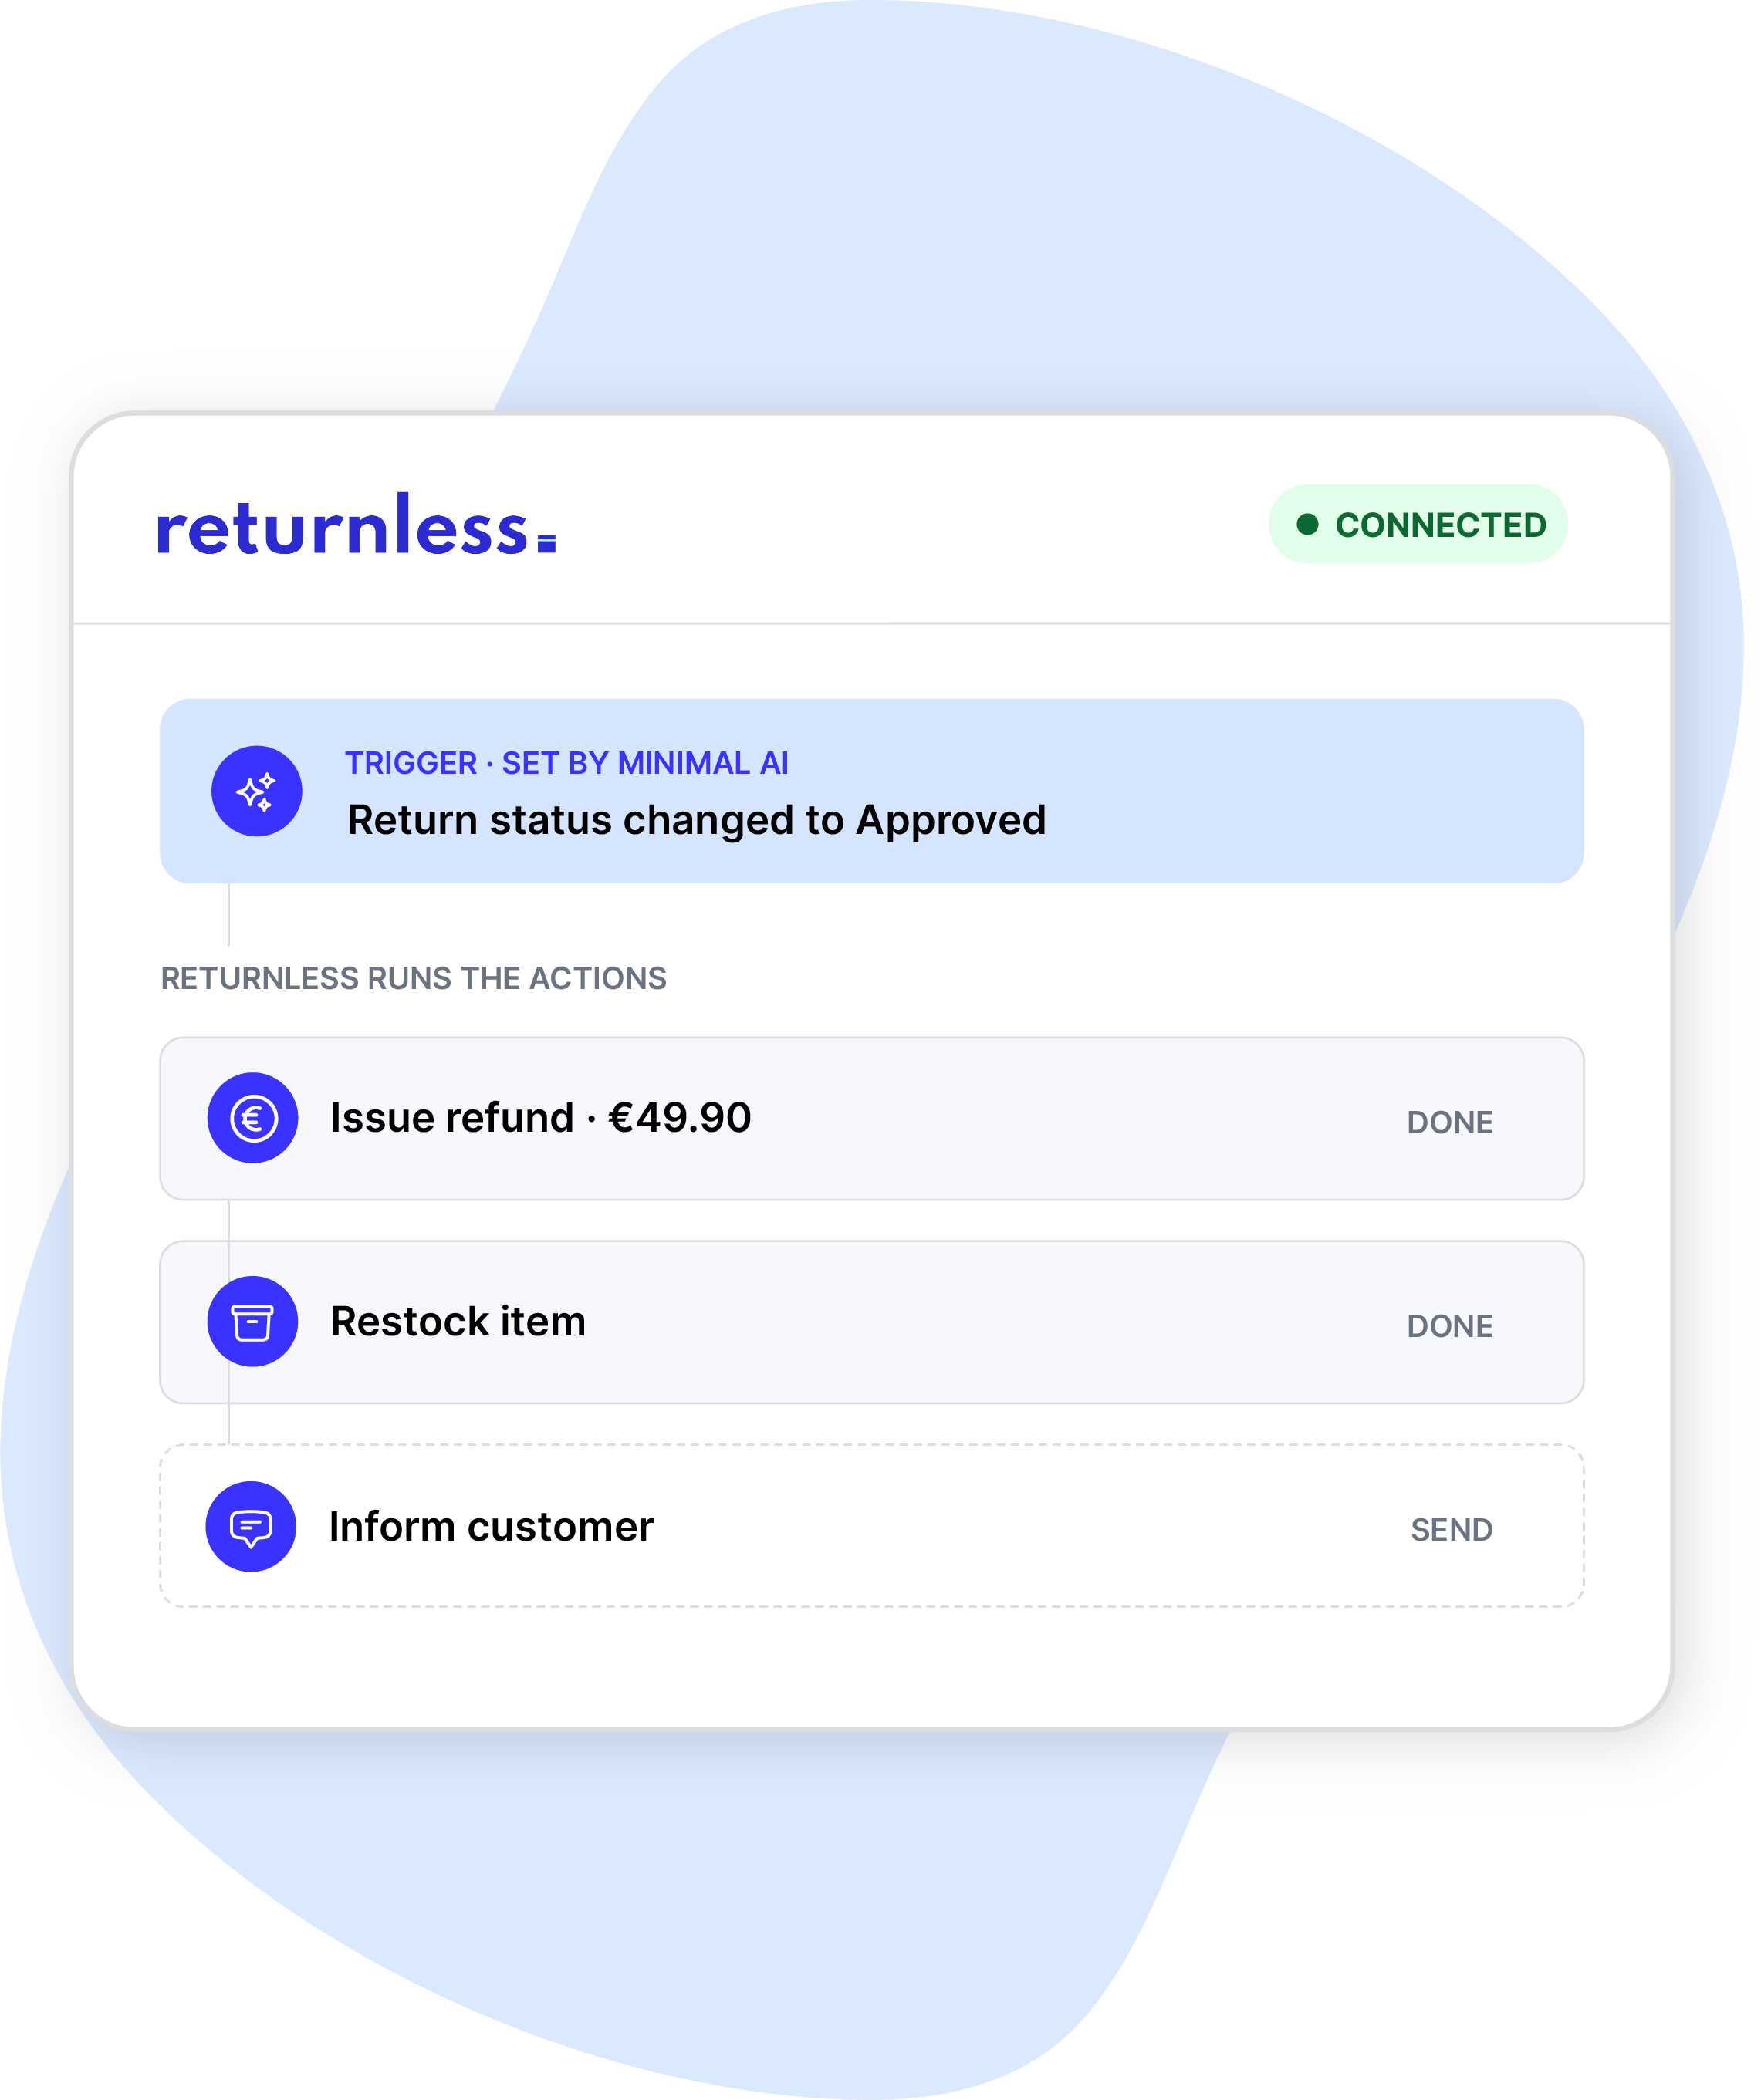
Besides answering your customers, Engaige's AI agent can also take action. Creating a return directly in Returnless, resending a lost or expired label, updating the return status, and syncing its notes back to the return. And a status change can trigger your Returnless Automations to run the refund, coupon, or gift card.
a clear overview without the busywork.
Both systems fully connected.
Handing return questions with AI only works if your team can trust and check it. Every answer to your customers shows up in the conversation view and in the notes of Returnless, so nobody needs to copy context between tools.
what Engaige can do in Returnless
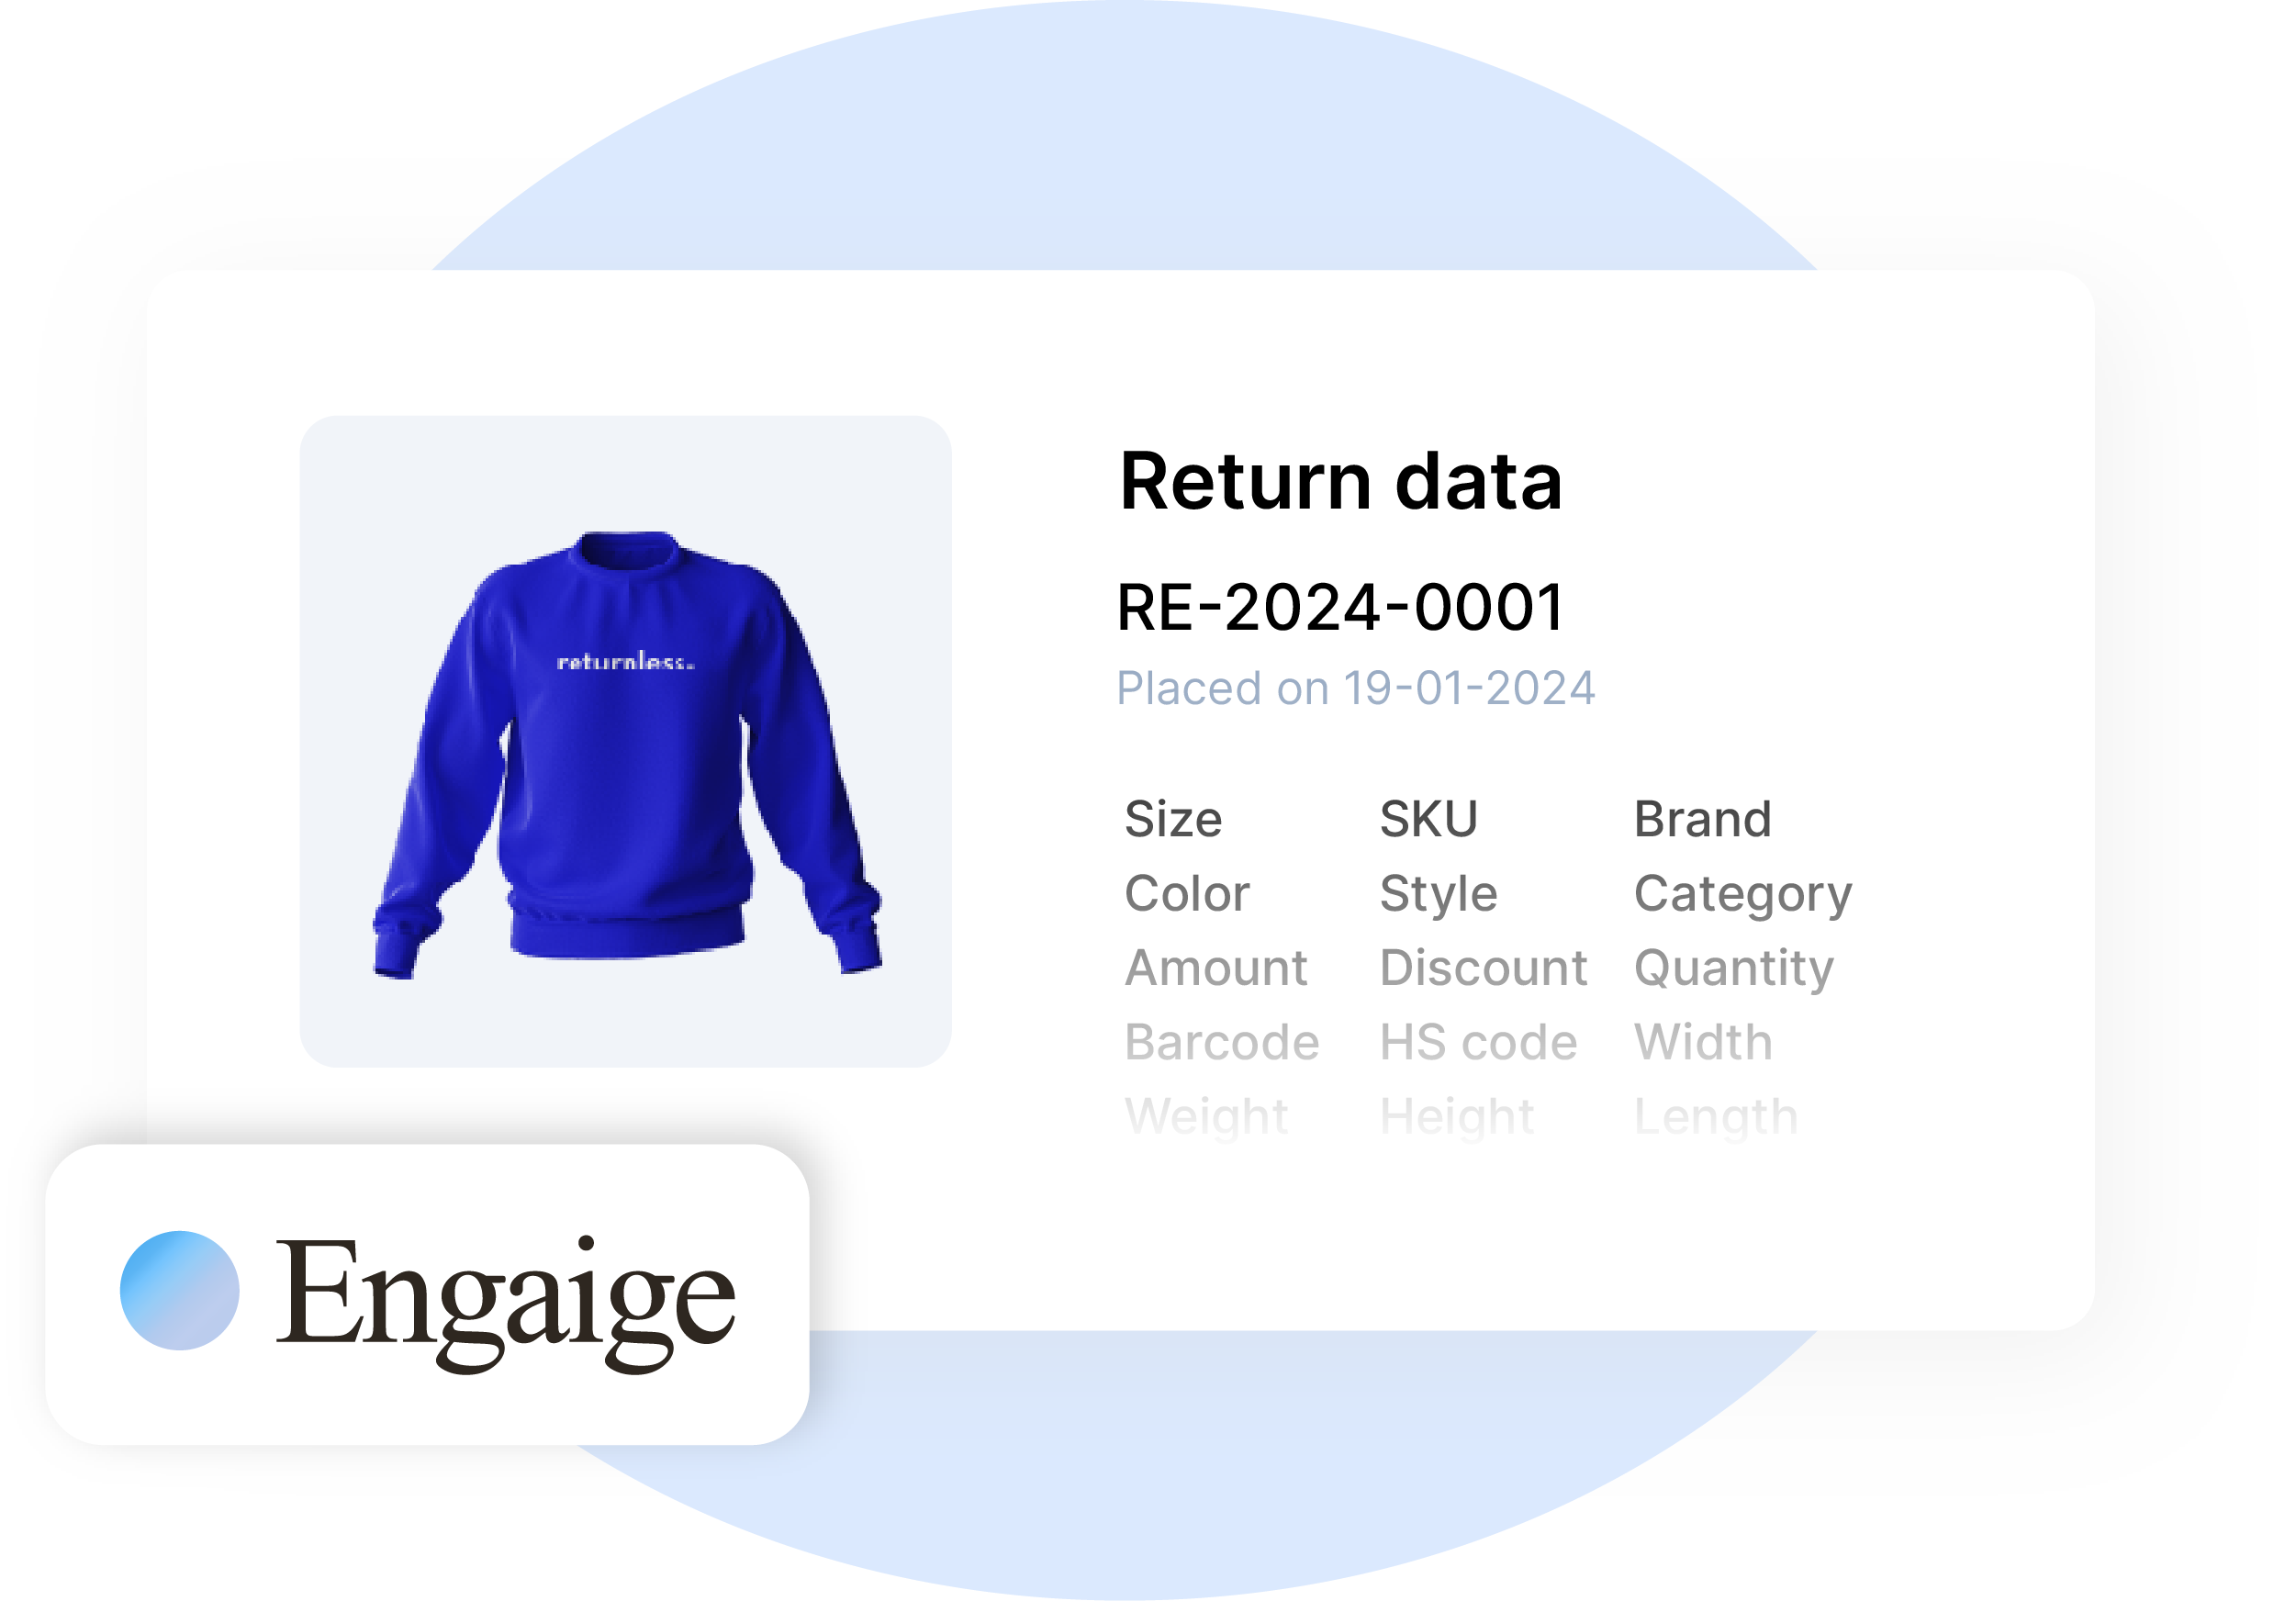
Engaige connects with the Returnless-API. It retrieves data and applies actions. Below you'll find all the possibilities of the integration:
|
Look up
|
Take action
|
FAQ.
How does the Engaige integration with Returnless work?
Engaige is available as an app in the Returnless App Store. Install it from your Returnless panel, confirm the connection in your Engaige dashboard, and the integration is live.
What can Engaige's agent search once connected?
Return information, return status, live tracking on the return shipment, and whether a return is allowed at all, checked against your own Return rules in Returnless.
Can Engaige als create or update a return?
Yes, where you allow it. Engaige can create a return, resend the label, and update a return's status. A status change can trigger your existing Returnless Automations for the refund, coupon, or gift card. This does require the Automate plan in Returnless.
Does the agent check my return policy before answering the customer?
Yes. It verifies the request against your own Return rules in Returnless before it gives the customer information.
Does Engaige track the return shipment?
Engaige retrieves the tracking information from Returnless. Once a return is created, the agent can give this live tracking to your customer, including confirming it has arrived at your warehouse.
Where can I manage the conversations with my customers?
Both in Engaige as in Returnless. The conversations that you have with your customers are synced between the systems, so your customer support team has full context without switching tools.
installation & support.
Connecting Returnless and Engaige only takes 5 minutes. You can find the integration in the App Store of Returnless, and view the installation guide below.